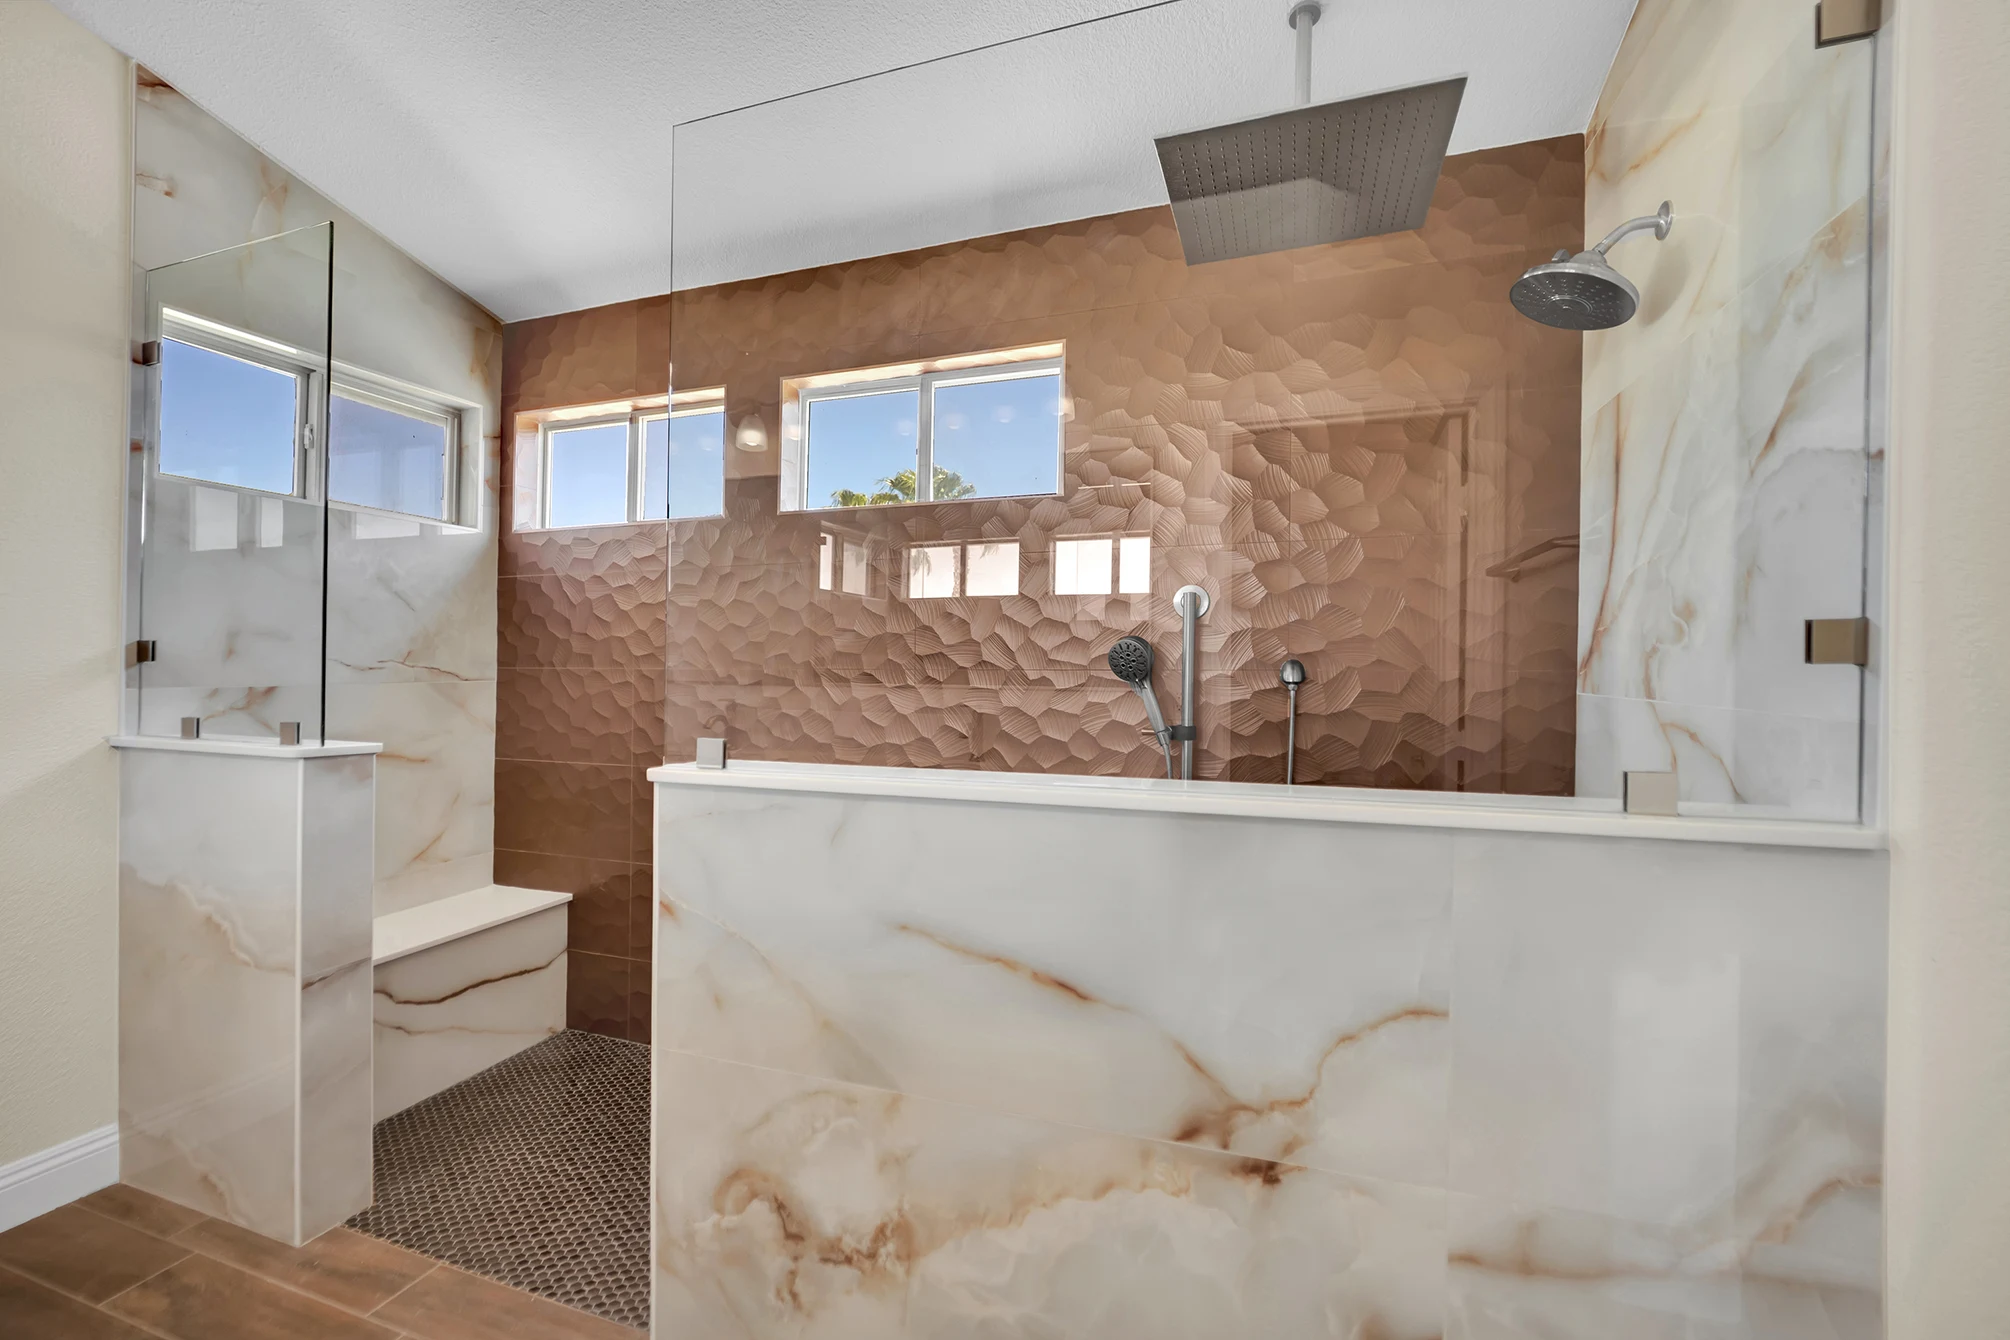
By Big Horn Remodeling
Completed August 2026
The homeowners had spent more than two years planning this shower and drawing the layout they wanted. Their renovation was already underway when they noticed holes and uncoated areas in the waterproofing. They asked the original contractor for a shower-pan test. According to the homeowners, the contractor told them they could perform it themselves. They did, and the pan leaked.
They stopped work with that contractor and hired Big Horn Remodeling. Our assignment was to investigate the unfinished installation, rebuild the parts we could not stand behind, and deliver the bathroom they had envisioned. The finished photographs show their design; the most consequential work happened before the new tile went in.
Waterproofing gaps, inadequate slope and weak bench framing
During demolition, we found incomplete AquaDefense coverage and areas where the existing coating was separating from the shower base. These were observable problems with the installed assembly. A waterproofing layer needs continuity across the surfaces and connections it is intended to protect; visible holes and missed areas left that protection incomplete.
The bench framing also lacked stable support. Its finished surface could have concealed the weakness, but the framing raised a concern about sagging over time. We addressed the support as part of the rebuild instead of carrying it into the finished shower.
Together, those findings changed the job from completing someone else's unfinished tile work to reconstructing the underlying shower. We removed the existing waterproofing and redid the earlier rough plumbing. The next problem was below both: the recessed concrete did not provide enough room for the required shower-floor slope.
Correcting the curbless slope required more work in a post-tension slab
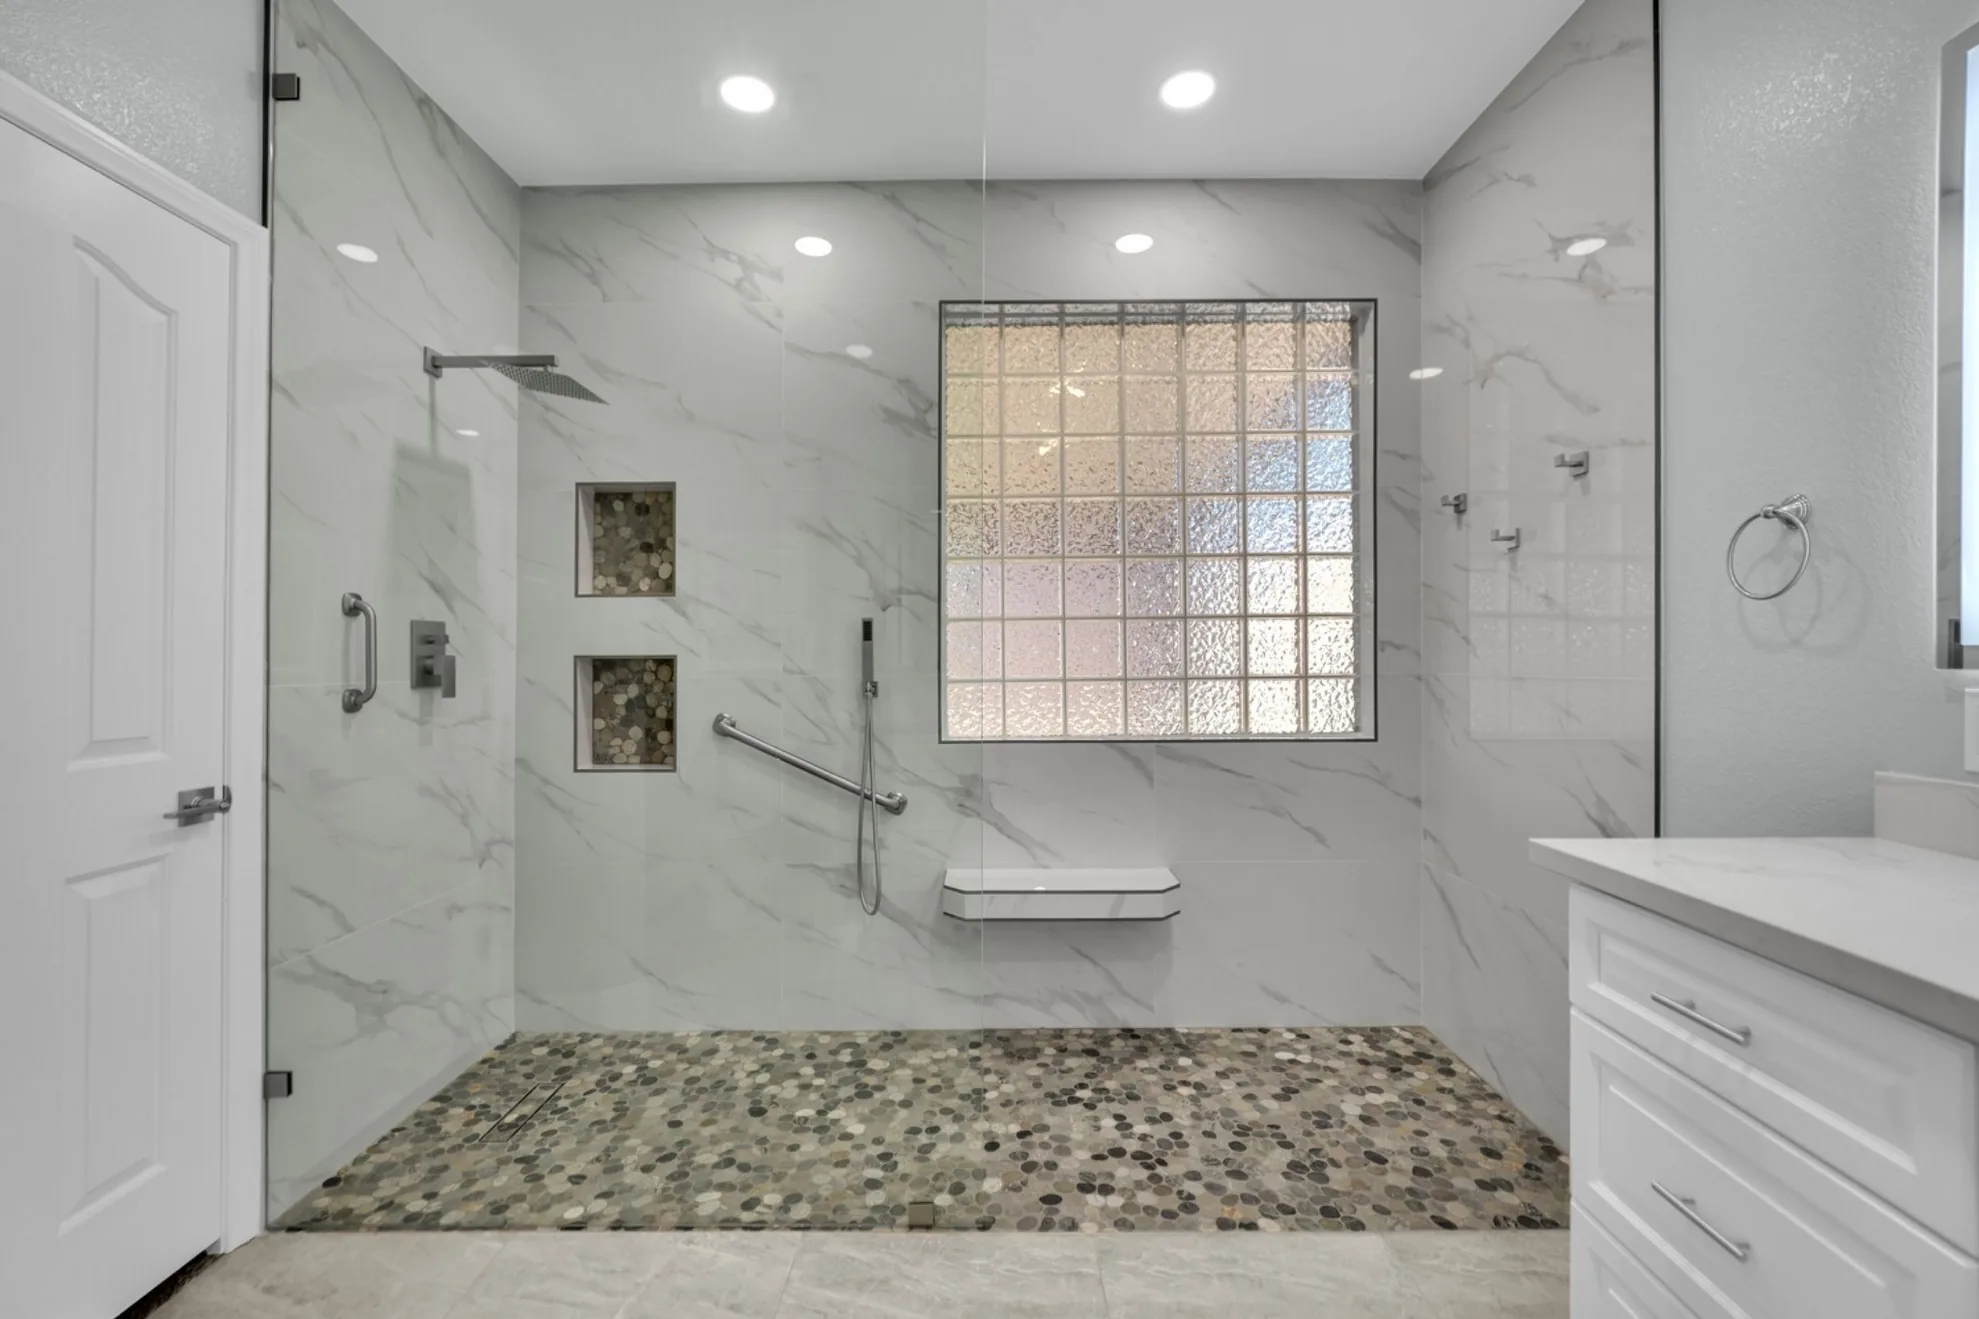
The shower had already been planned as curbless. That made the relationship between the bathroom floor, shower base and drain especially important. A flush entrance still needs a sloped shower floor that directs water toward the drain. The previous concrete removal had not created sufficient space for that arrangement.
Because the slab contained post-tension cables, we had their locations identified by an X-ray scan before breaking additional concrete. We then extended the concrete removal beyond the previous contractor's work to make room for the corrected base and slope.
This was a construction correction with a visible design consequence: the homeowners could keep the curbless entrance they wanted. It also explains why replacing the waterproofing alone would not have completed the repair. The new membrane needed a base whose geometry supported drainage, and that base had to work with the surrounding finished floor.
Replacing the drain and P-trap established a complete new plumbing scope
We replaced the existing shower drain and P-trap, along with the rough plumbing installed during the earlier work. The decision reflected the responsibility we were taking for this project: we wanted the concealed plumbing within our rebuild to be work we had installed and could warranty.
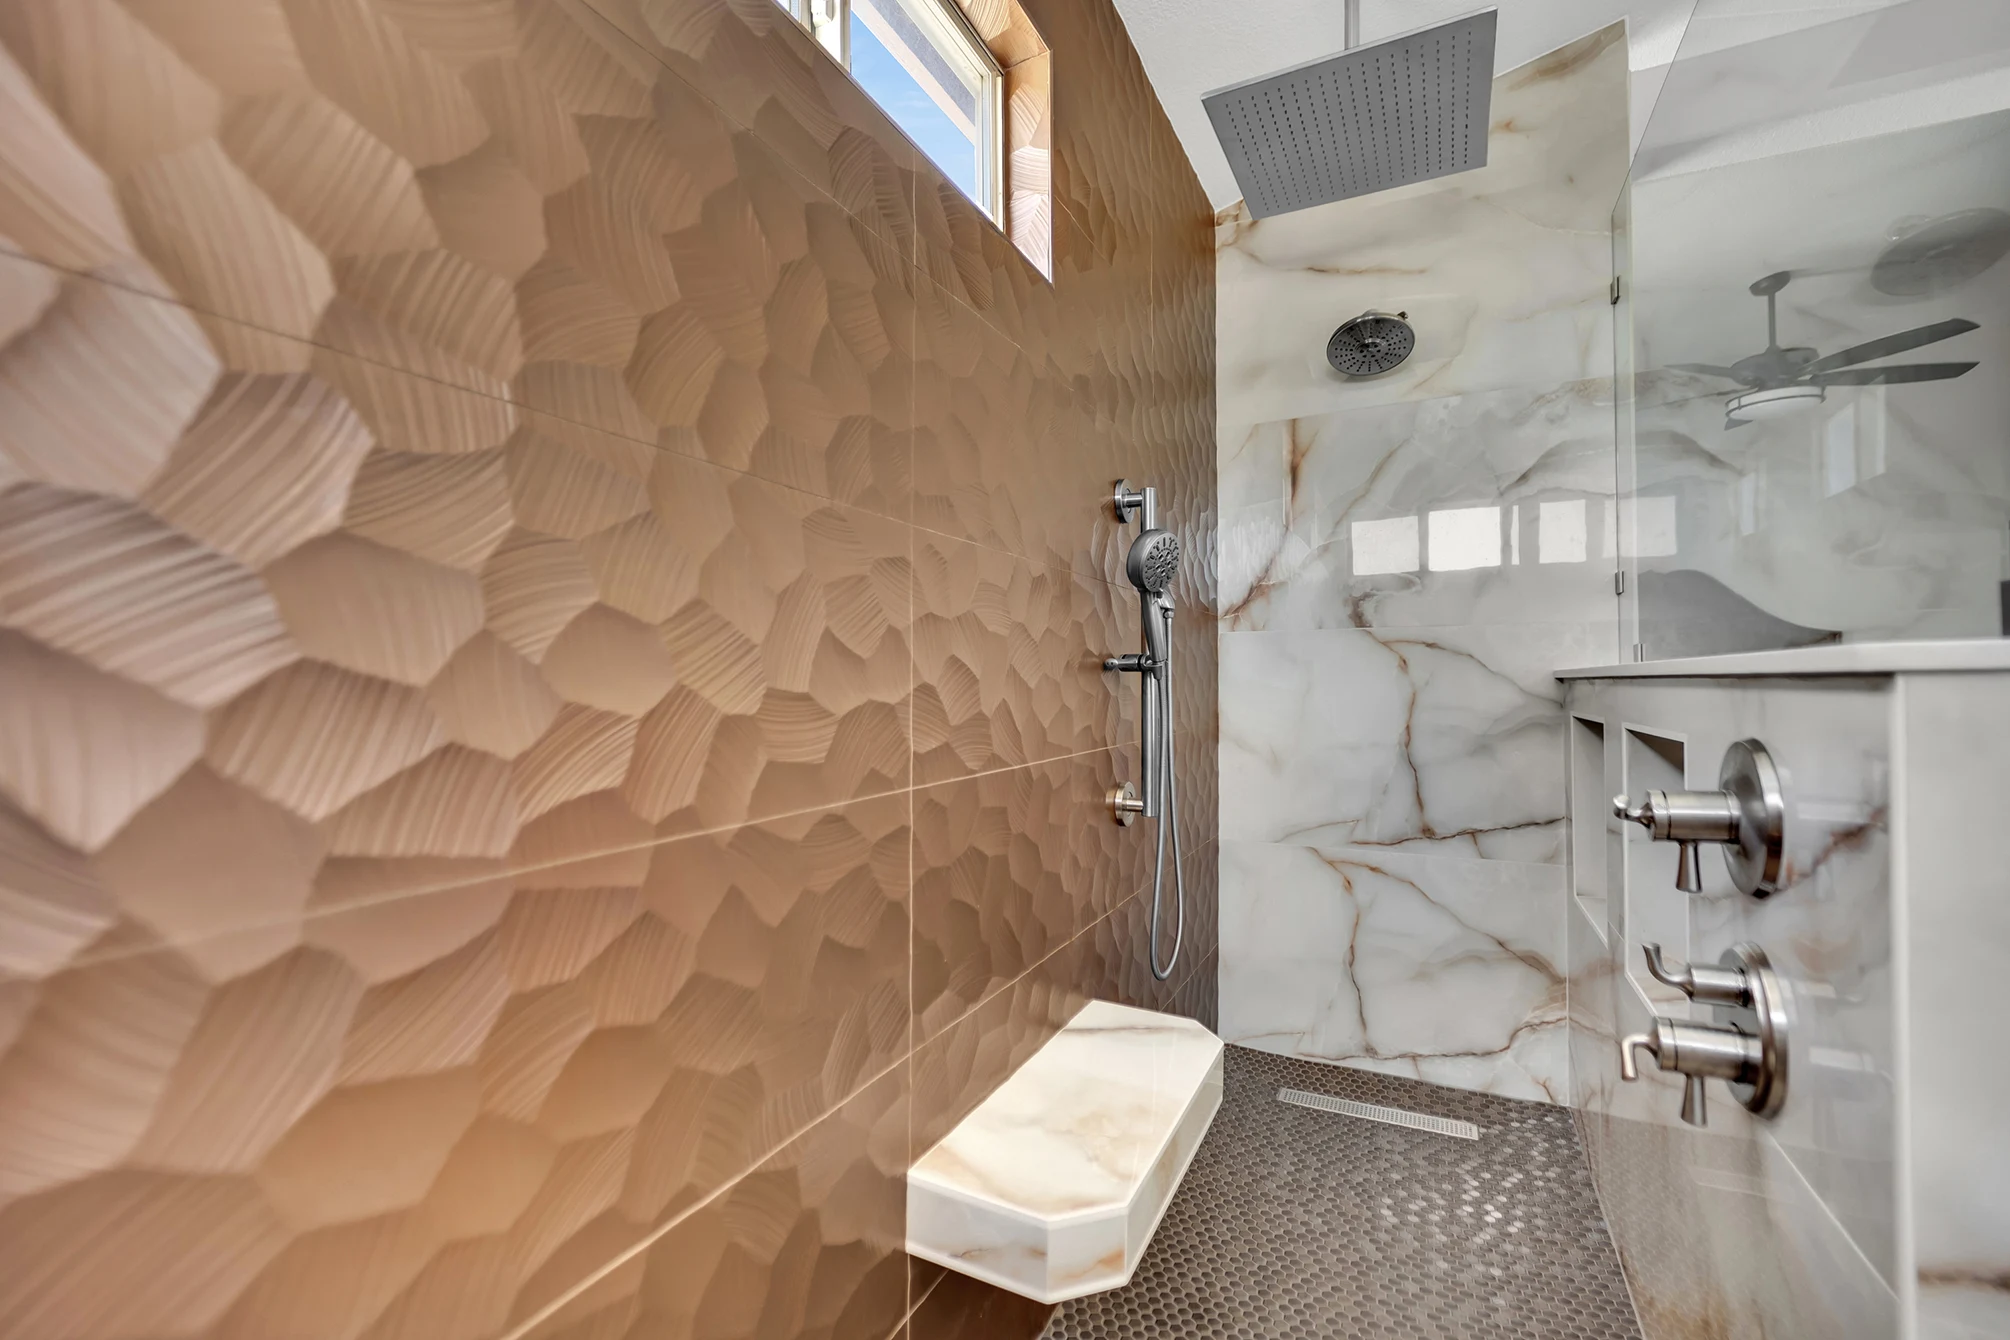
As part of that replacement, we relocated the drain slightly closer to the wall. The finished shower uses a linear drain near the end wall, visible in the interior photographs. Its position was coordinated with the rebuilt shower floor rather than preserved simply because a connection was already there.
For the pan waterproofing, we installed a Schluter-KERDI sheet-applied waterproofing membrane. The relevant improvement was the rebuilt assembly: corrected base geometry, new plumbing connections and replacement waterproofing. The condition of the original installation, rather than the product name alone, was the reason for starting over.
A 24-hour water test made verification part of the rebuild
The homeowner's initial test had exposed the problem, so water testing was central to the replacement work. We held water in the rebuilt pan for a full 24 hours to check for leaks, then drained it.
That is a standing-water test, not simply turning on a showerhead and watching water reach the drain. The distinction mattered here because the original concern involved the pan's ability to contain water. This checkpoint gave the reconstruction a defined verification stage before the work was hidden beneath the finished surfaces.
Electrical and plumbing permits covered the changed trade work. The electrical scope included additional recessed lighting and two new wall-mounted vanity light fixtures. The plumbing scope included the replacement rough work, drain relocation and added ceiling showerhead connection.
Permitting jurisdiction: City of Las Vegas.
The homeowners' drawings guided the copper-tone tile and his-and-hers benches
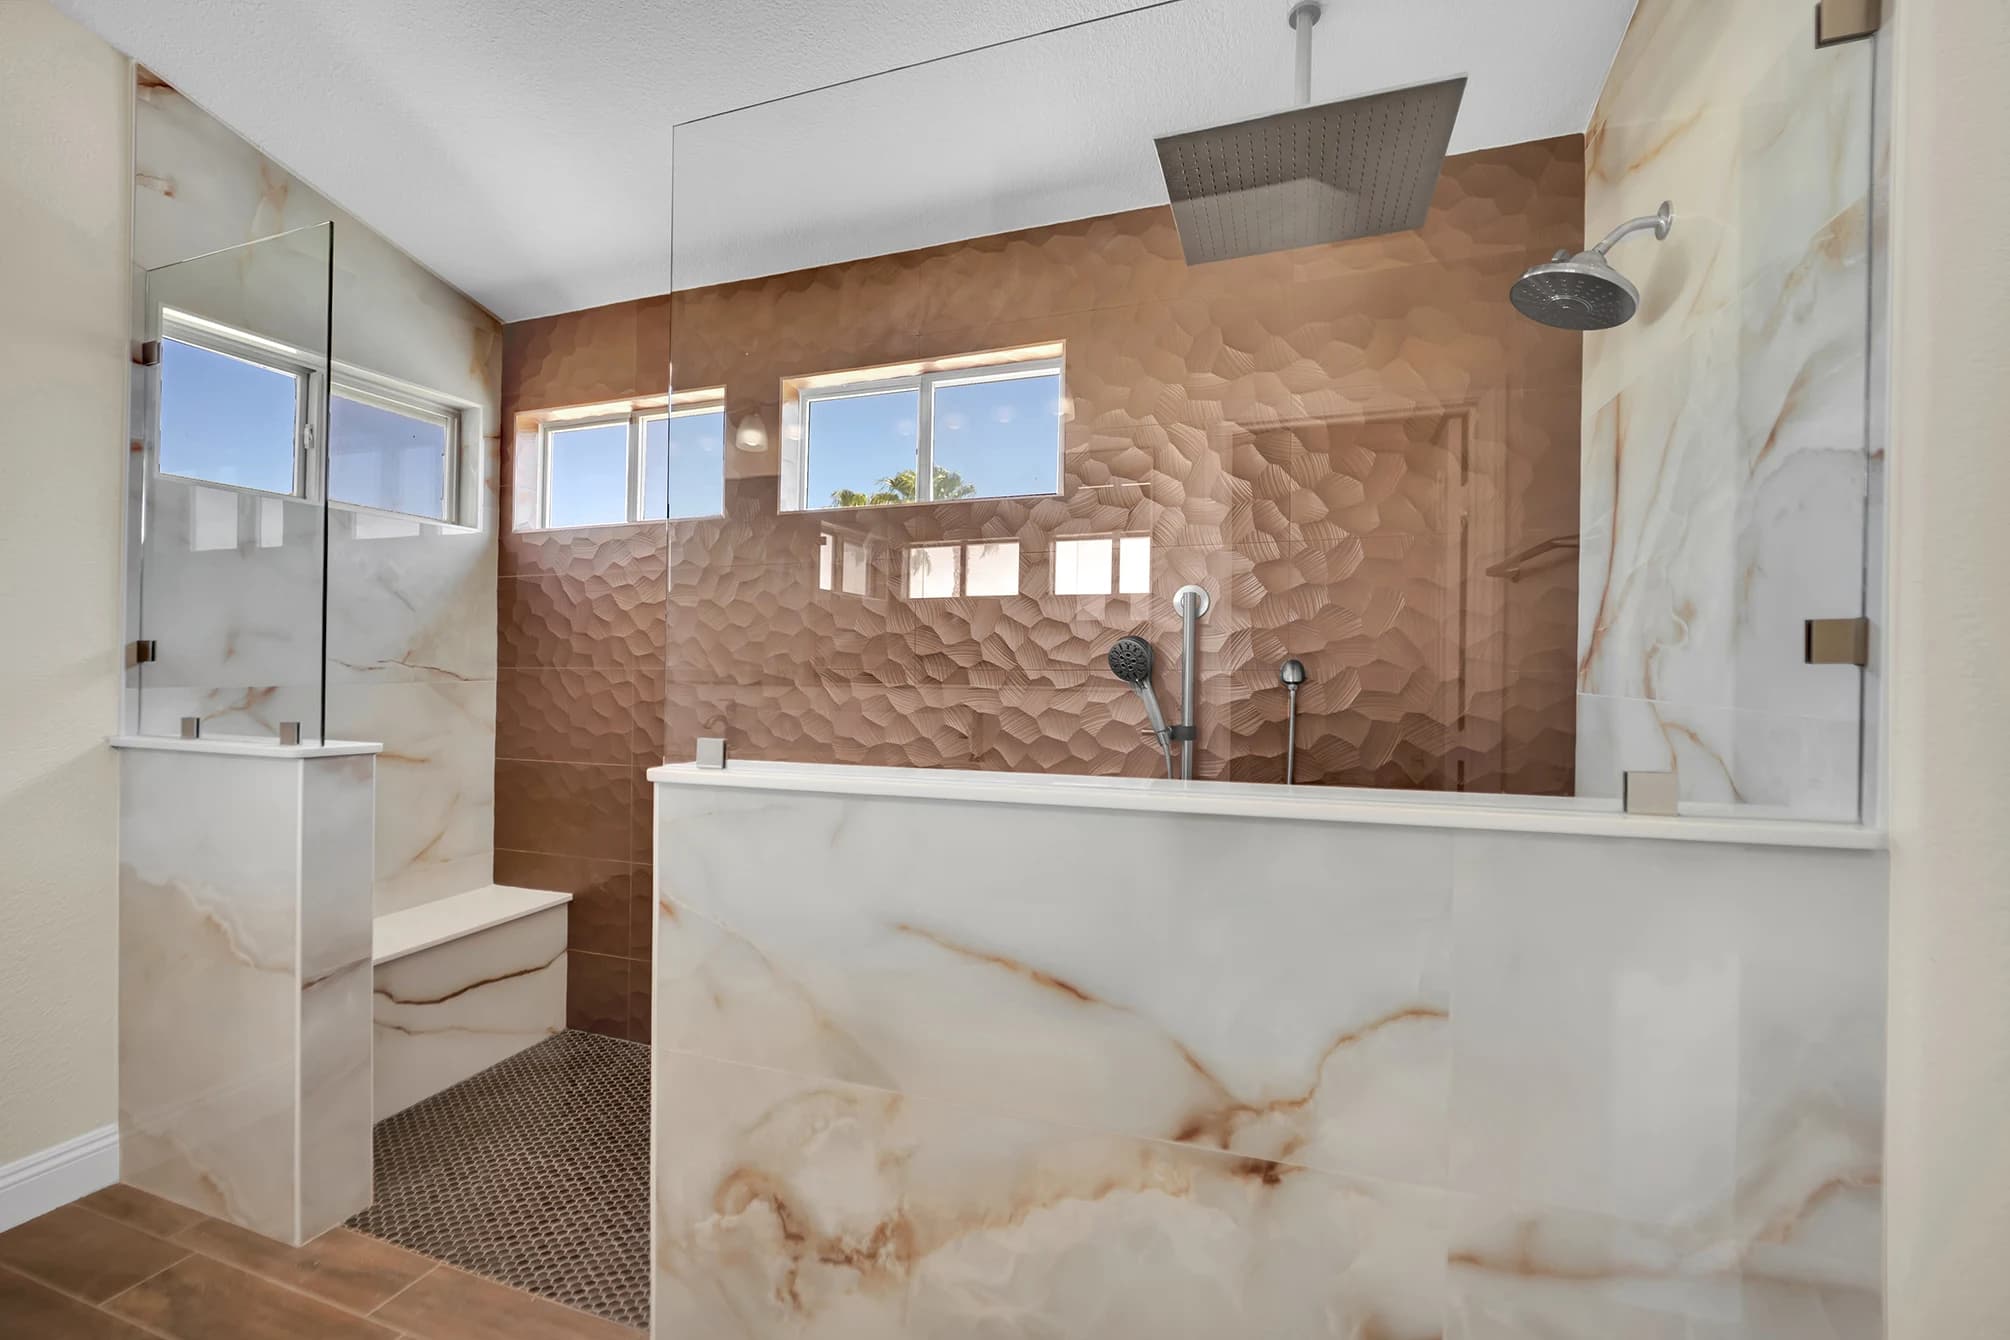
The homeowners already had a clear design. We followed their drawings and replicated the layout they had envisioned, including separate his-and-hers benches. The repair work therefore supported a specific plan rather than becoming an opportunity to substitute a different bathroom.
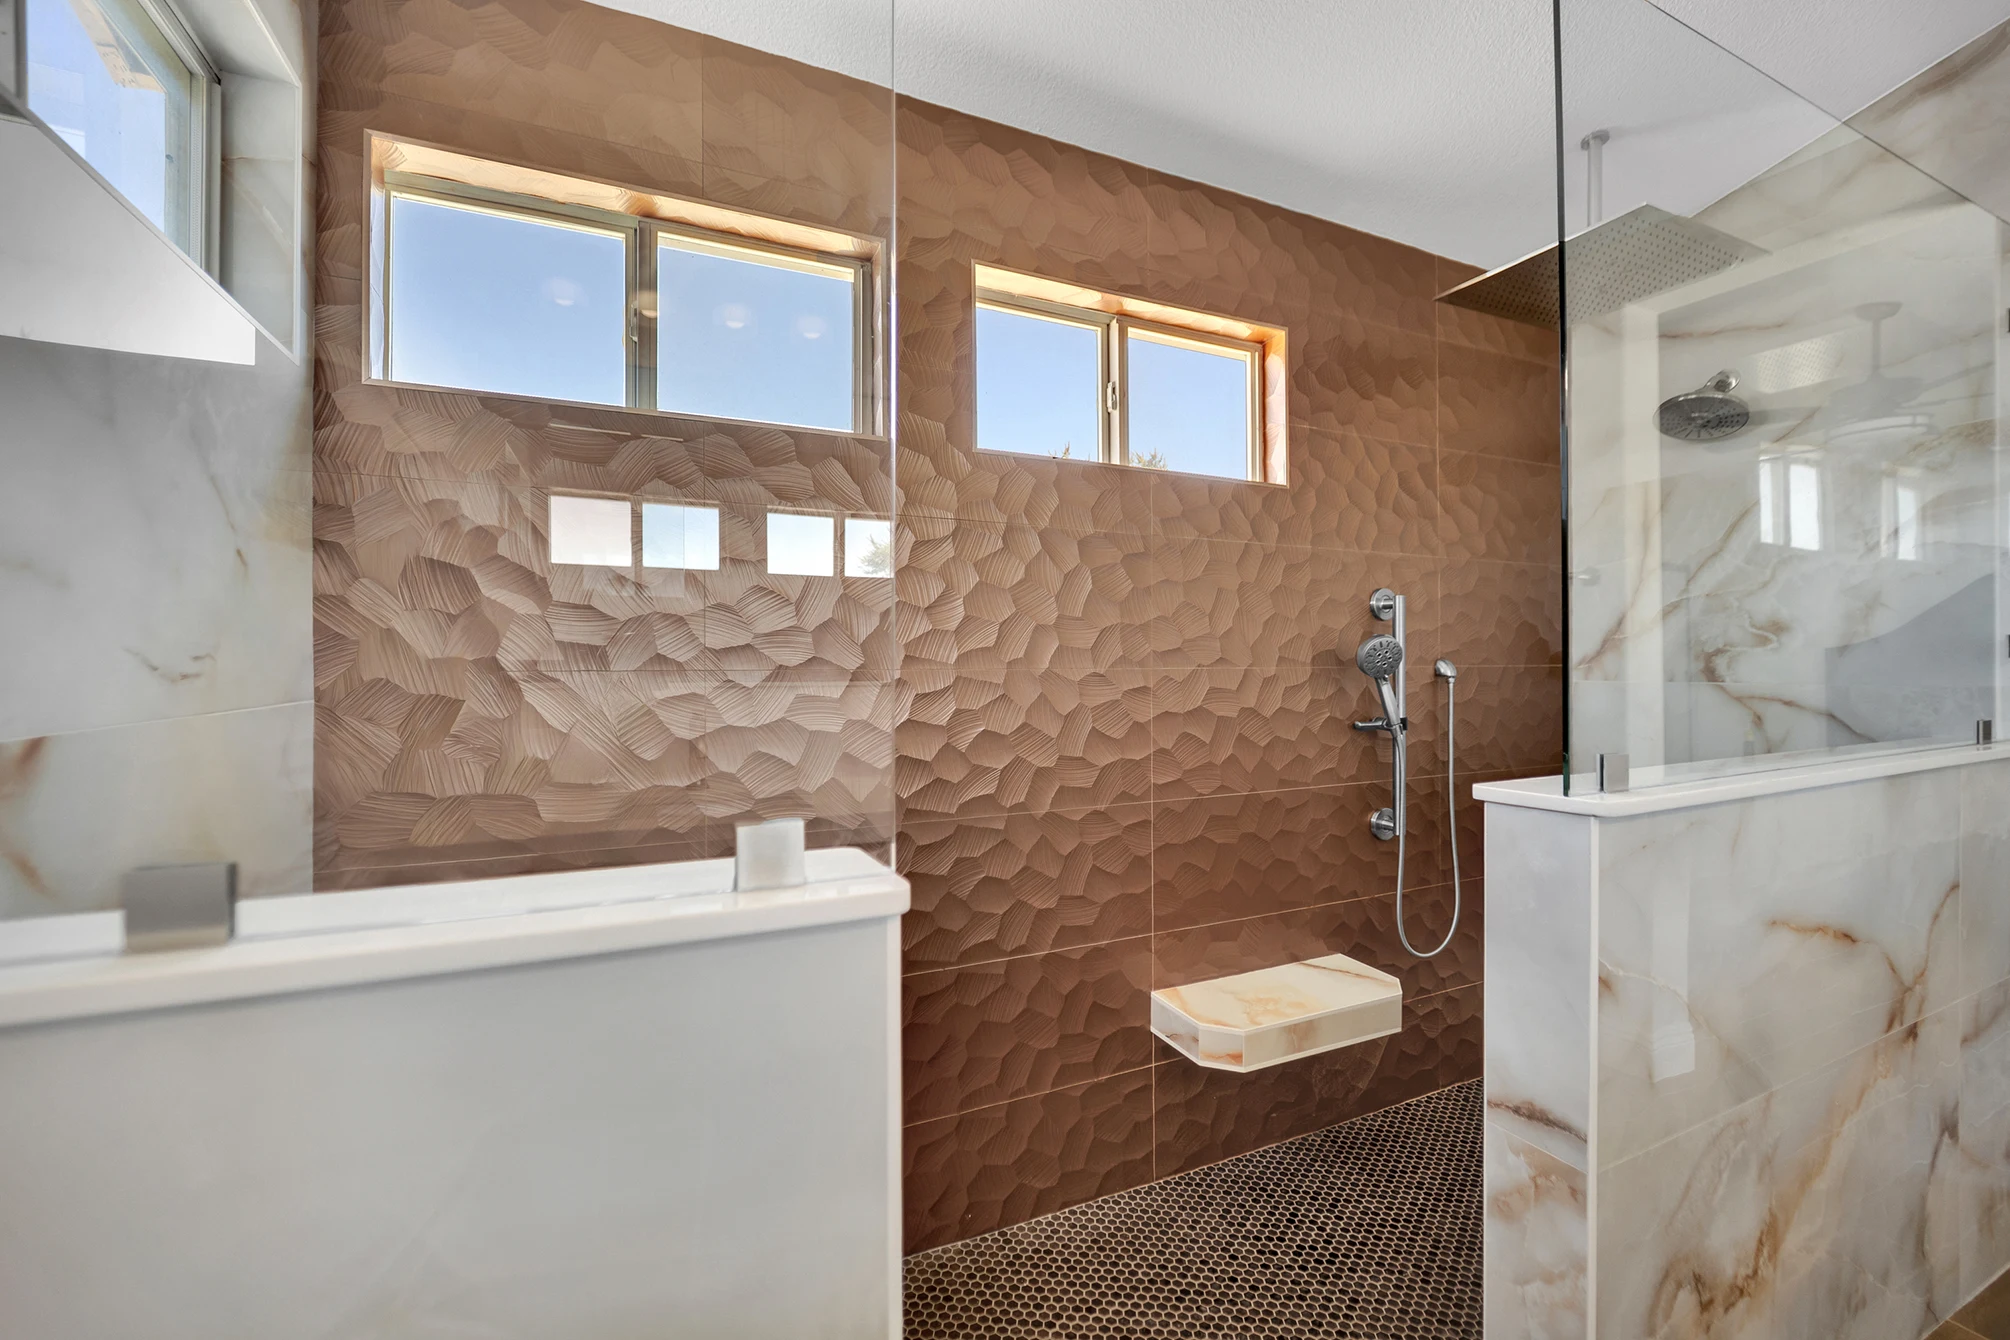
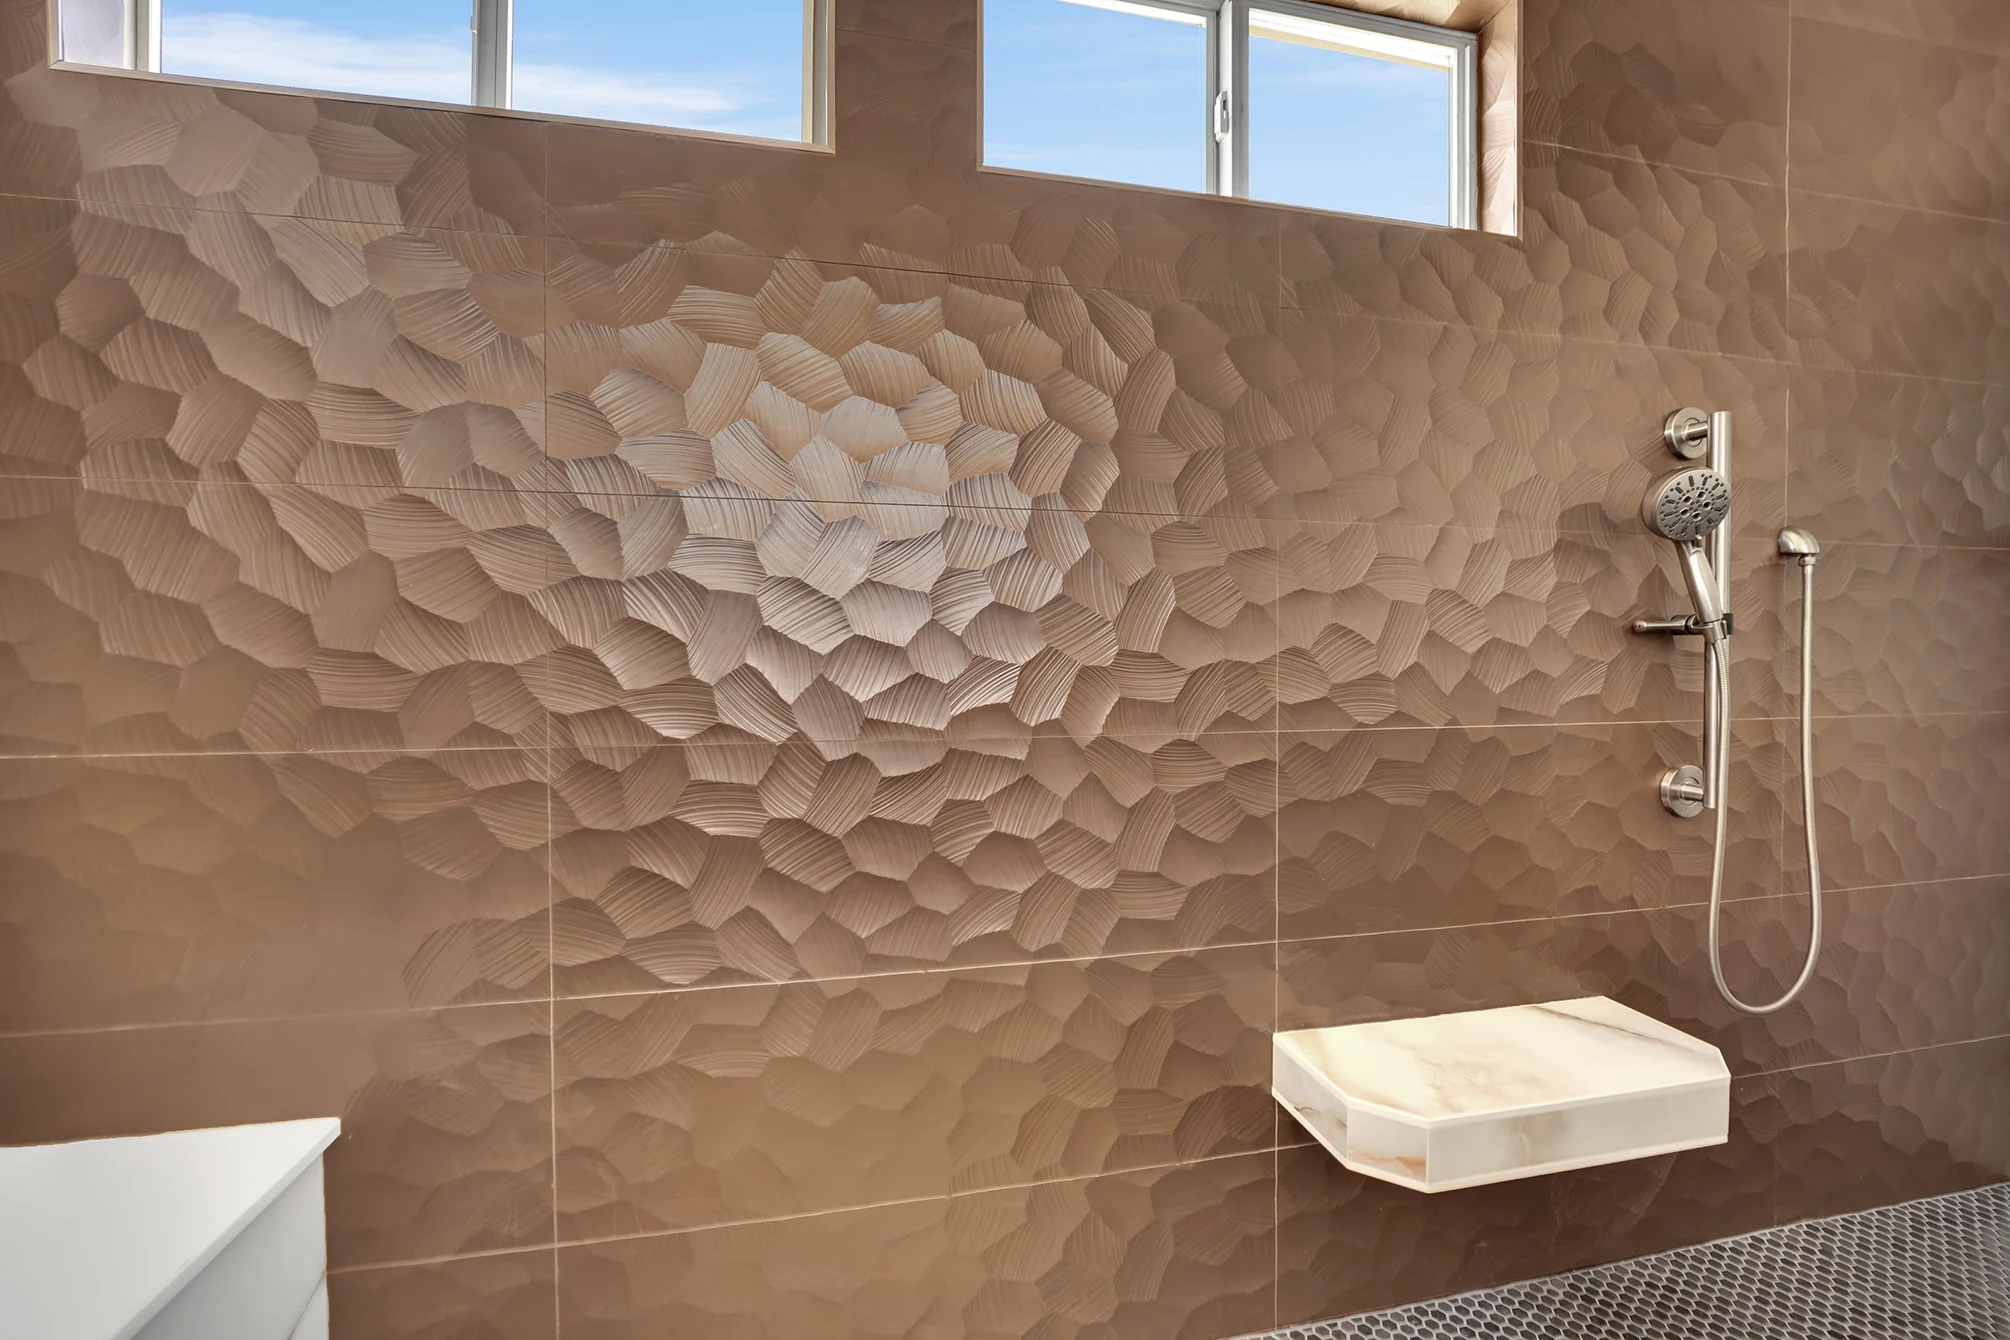
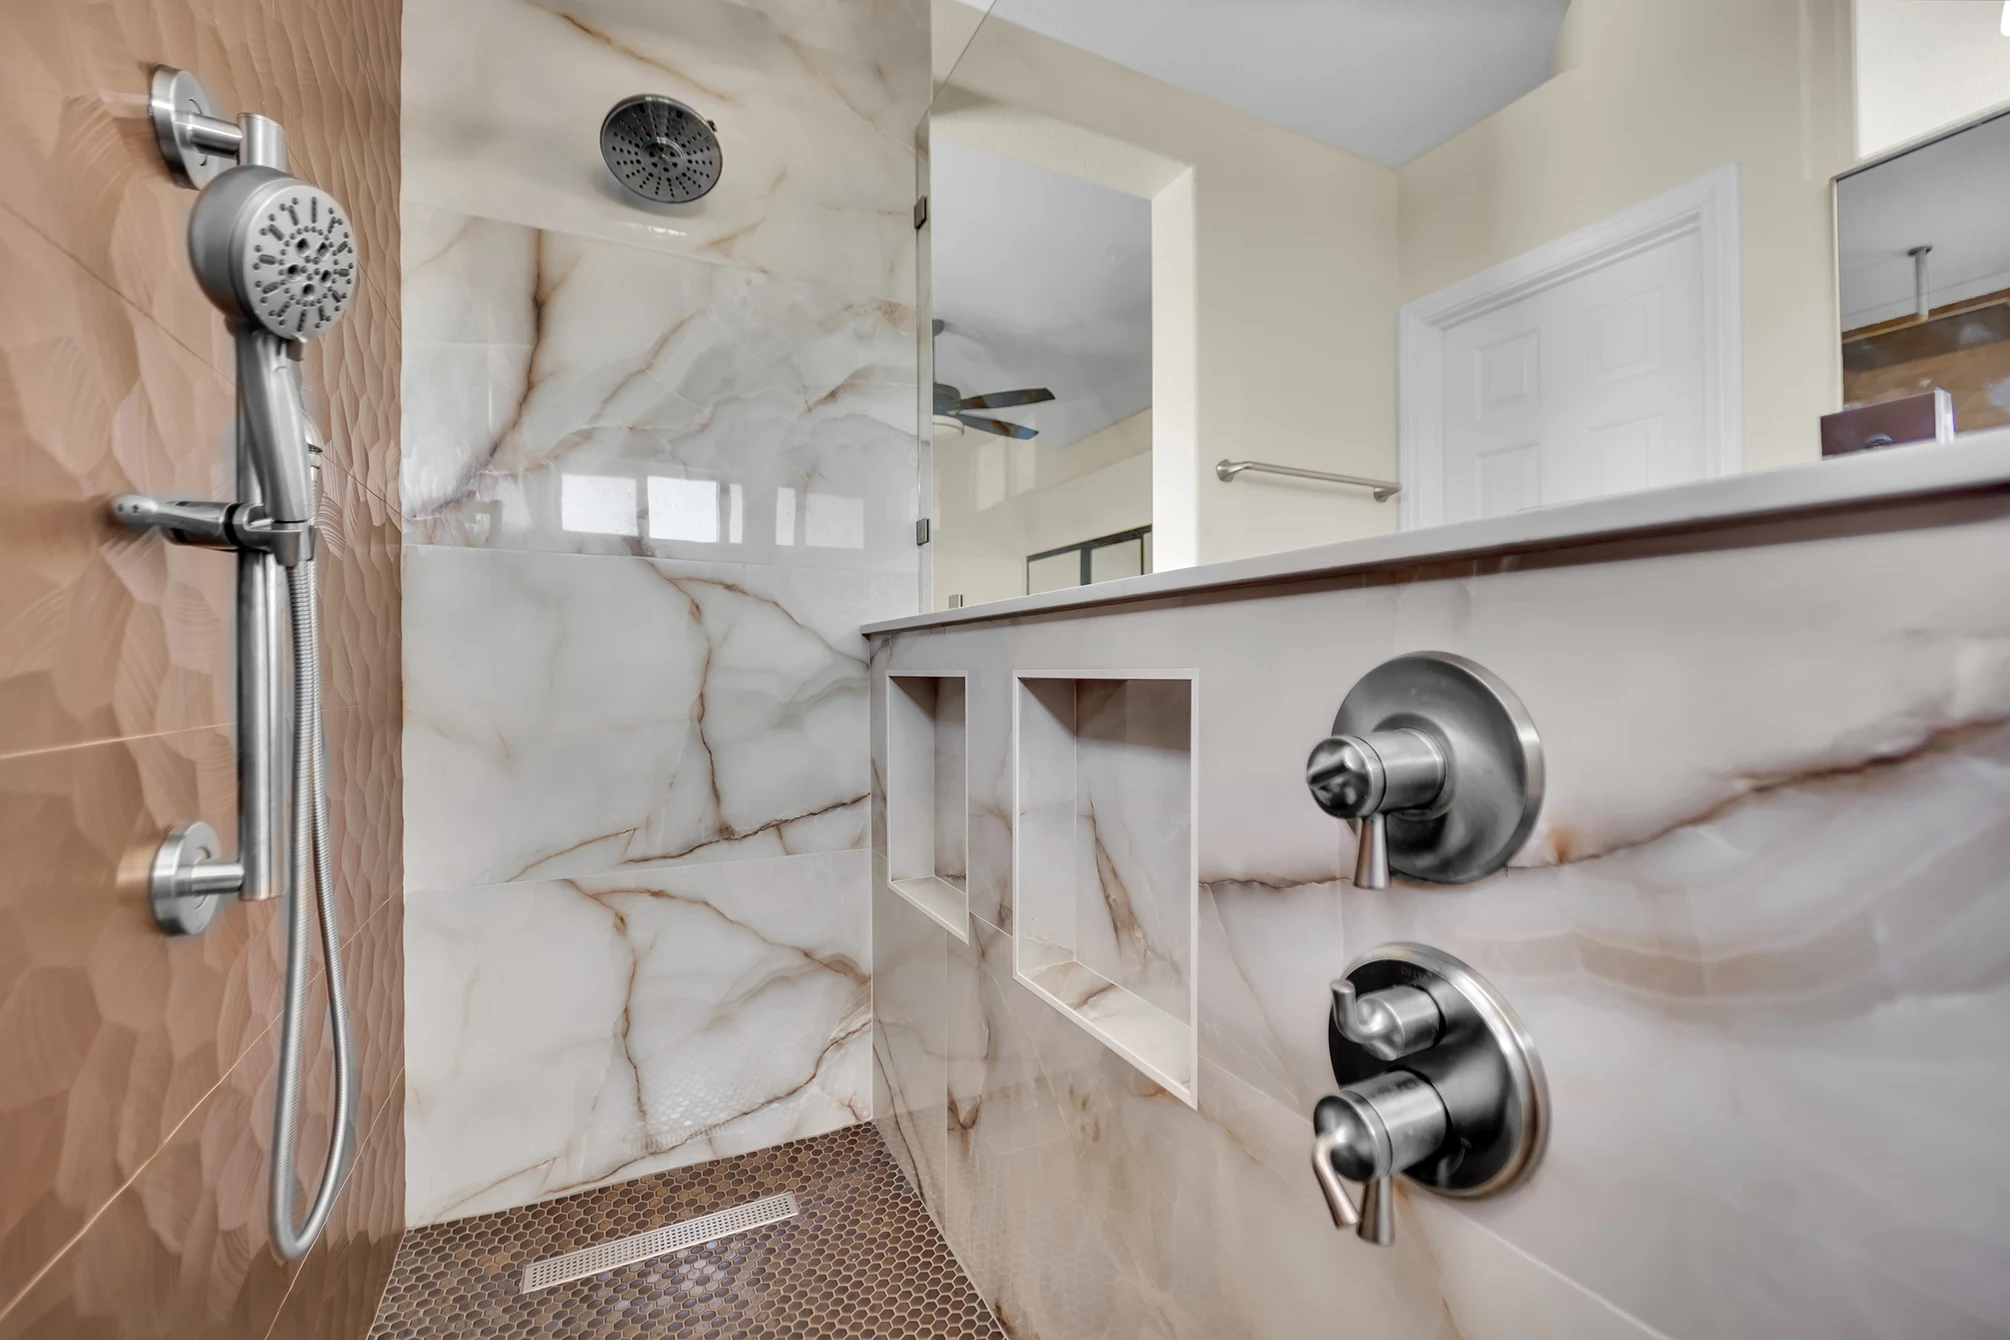
The shower uses three tile selections. Copper-tone 24-by-48-inch tile forms the textured accent wall beneath the high windows. Its raised pattern gives that long wall depth, with daylight making the relief visible. Cream-colored, veined large-format tile covers the other shower walls and the pony-wall faces, providing a quieter surface alongside the accent pattern. Penny tile finishes the shower pan.
The two seating locations serve the homeowners individually: one seat projects from the accent wall, while the other bench occupies the opposite end. Correcting the inadequate framing was essential to delivering this part of their plan. The photos also show two storage niches on the inside of the pony wall, keeping bottles within the shower without interrupting the main feature wall.
The feature wall is visible from the vanity and through the glass panels, so its pattern has an effect on the entire room. The pony wall provides a solid lower boundary between the shower and vanity area while the glass maintains the open upper view. This keeps the large shower visually connected to the bathroom without making every surface the same finish.
Kohler fixtures and the surrounding bathroom completed the design
The finished fixture arrangement includes two fixed Kohler showerheads, one wall-mounted and one ceiling-mounted, plus a handheld sprayer. The ceiling rain head sits above the showering area, and the handheld is positioned beside the floating seat. The controls are grouped on the inside face of the pony wall, alongside the niches.
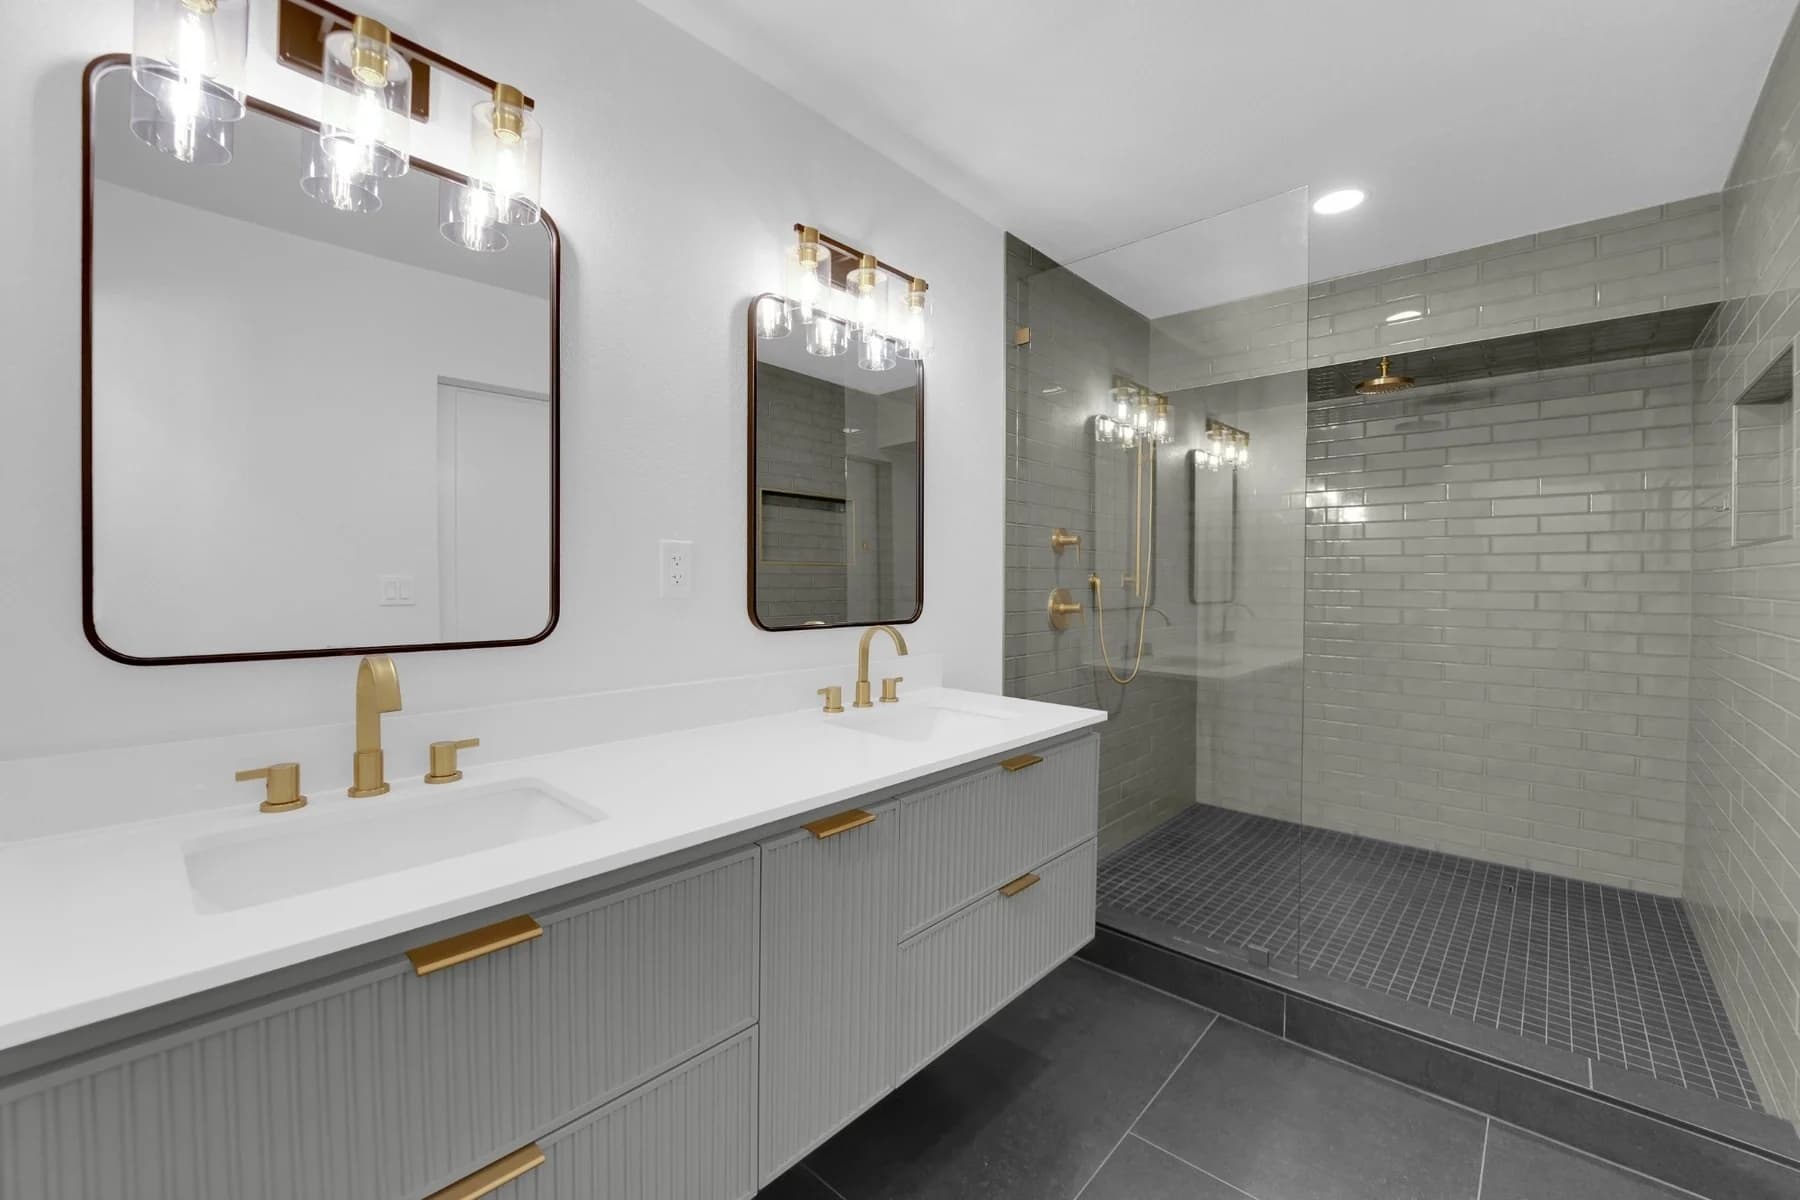
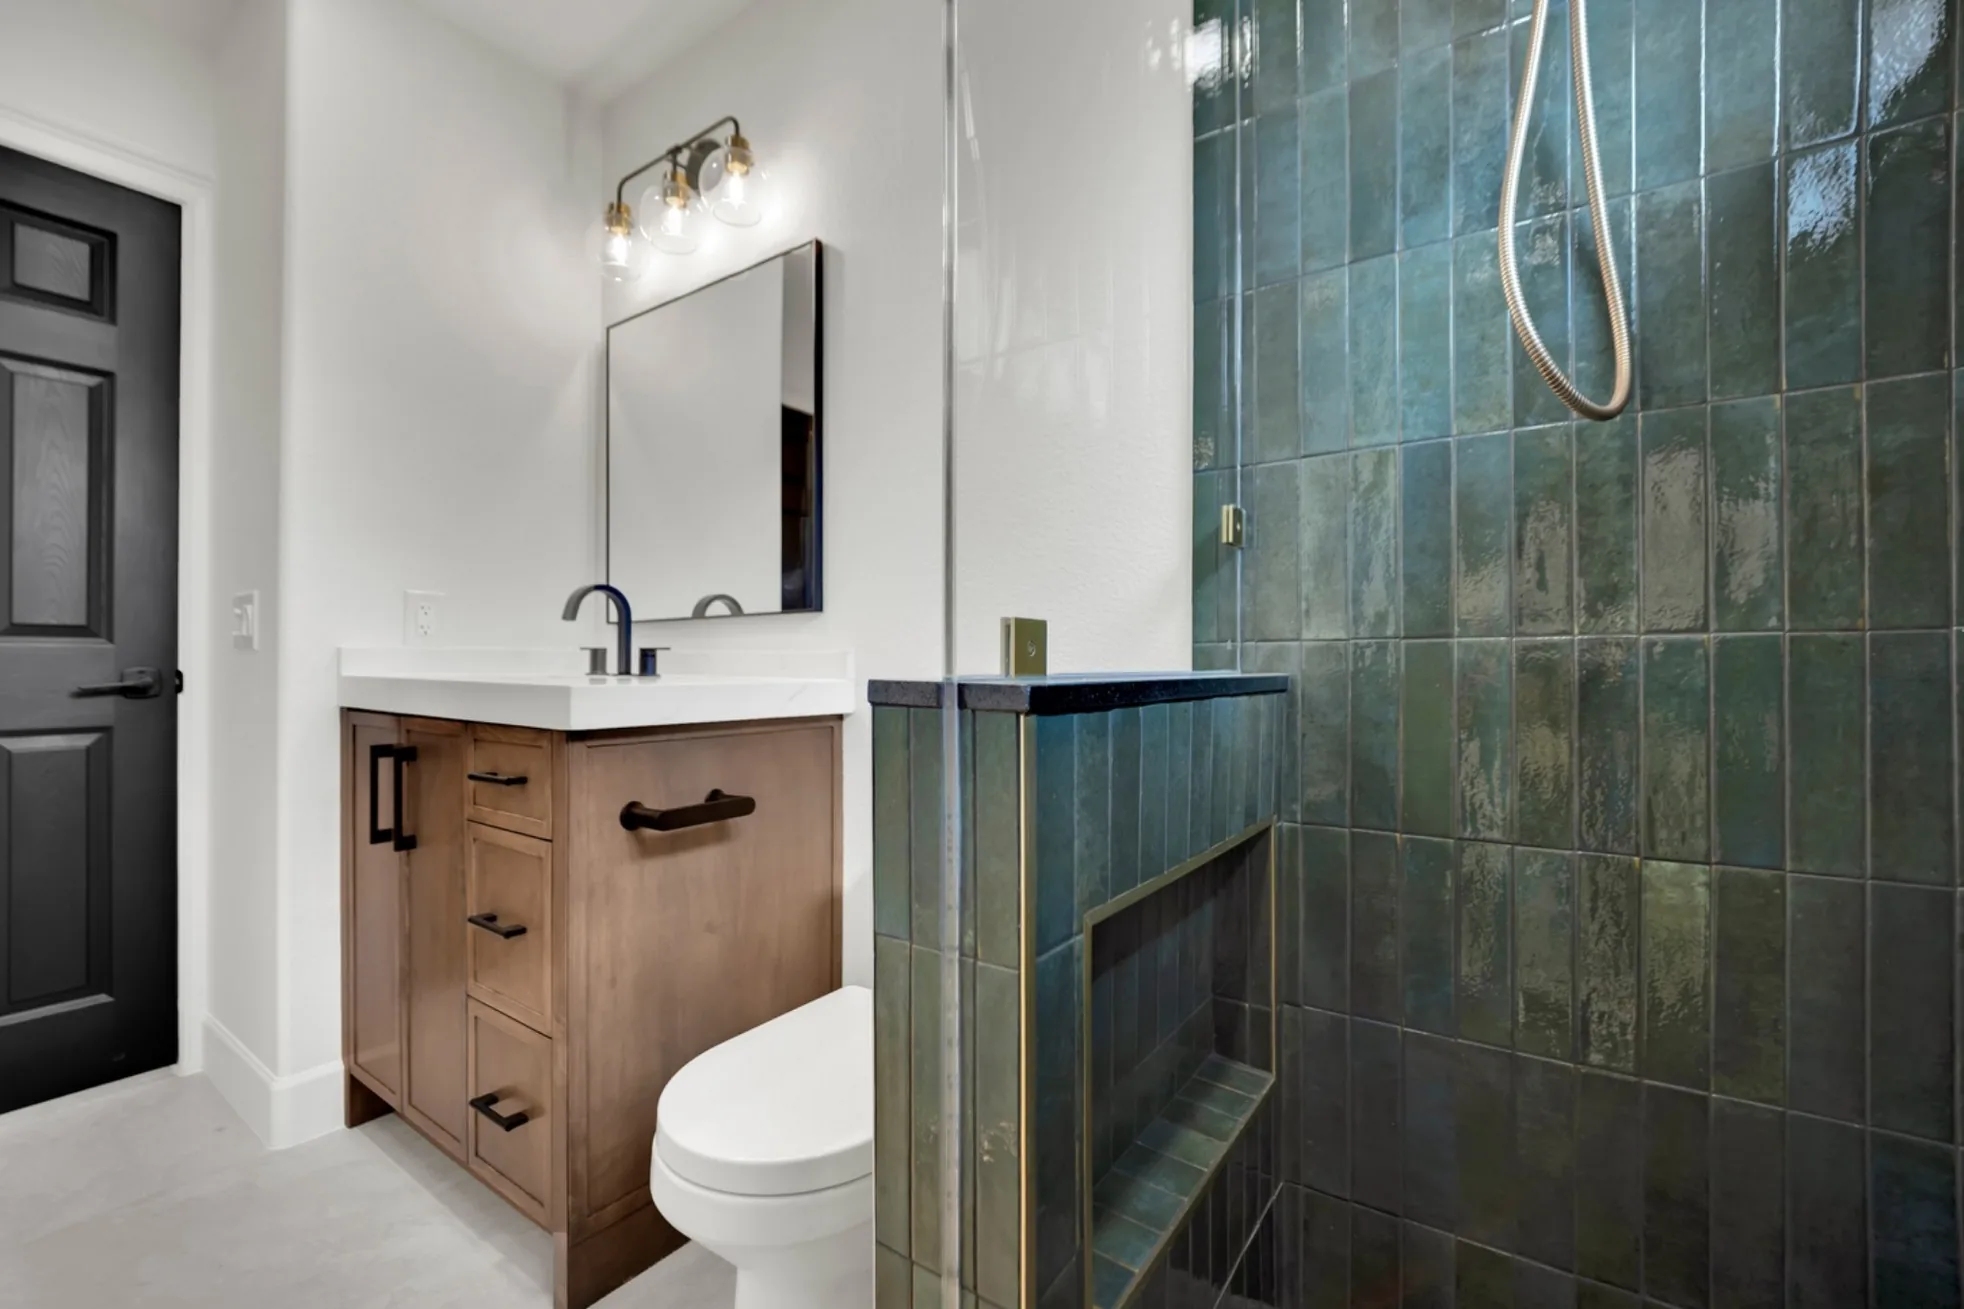
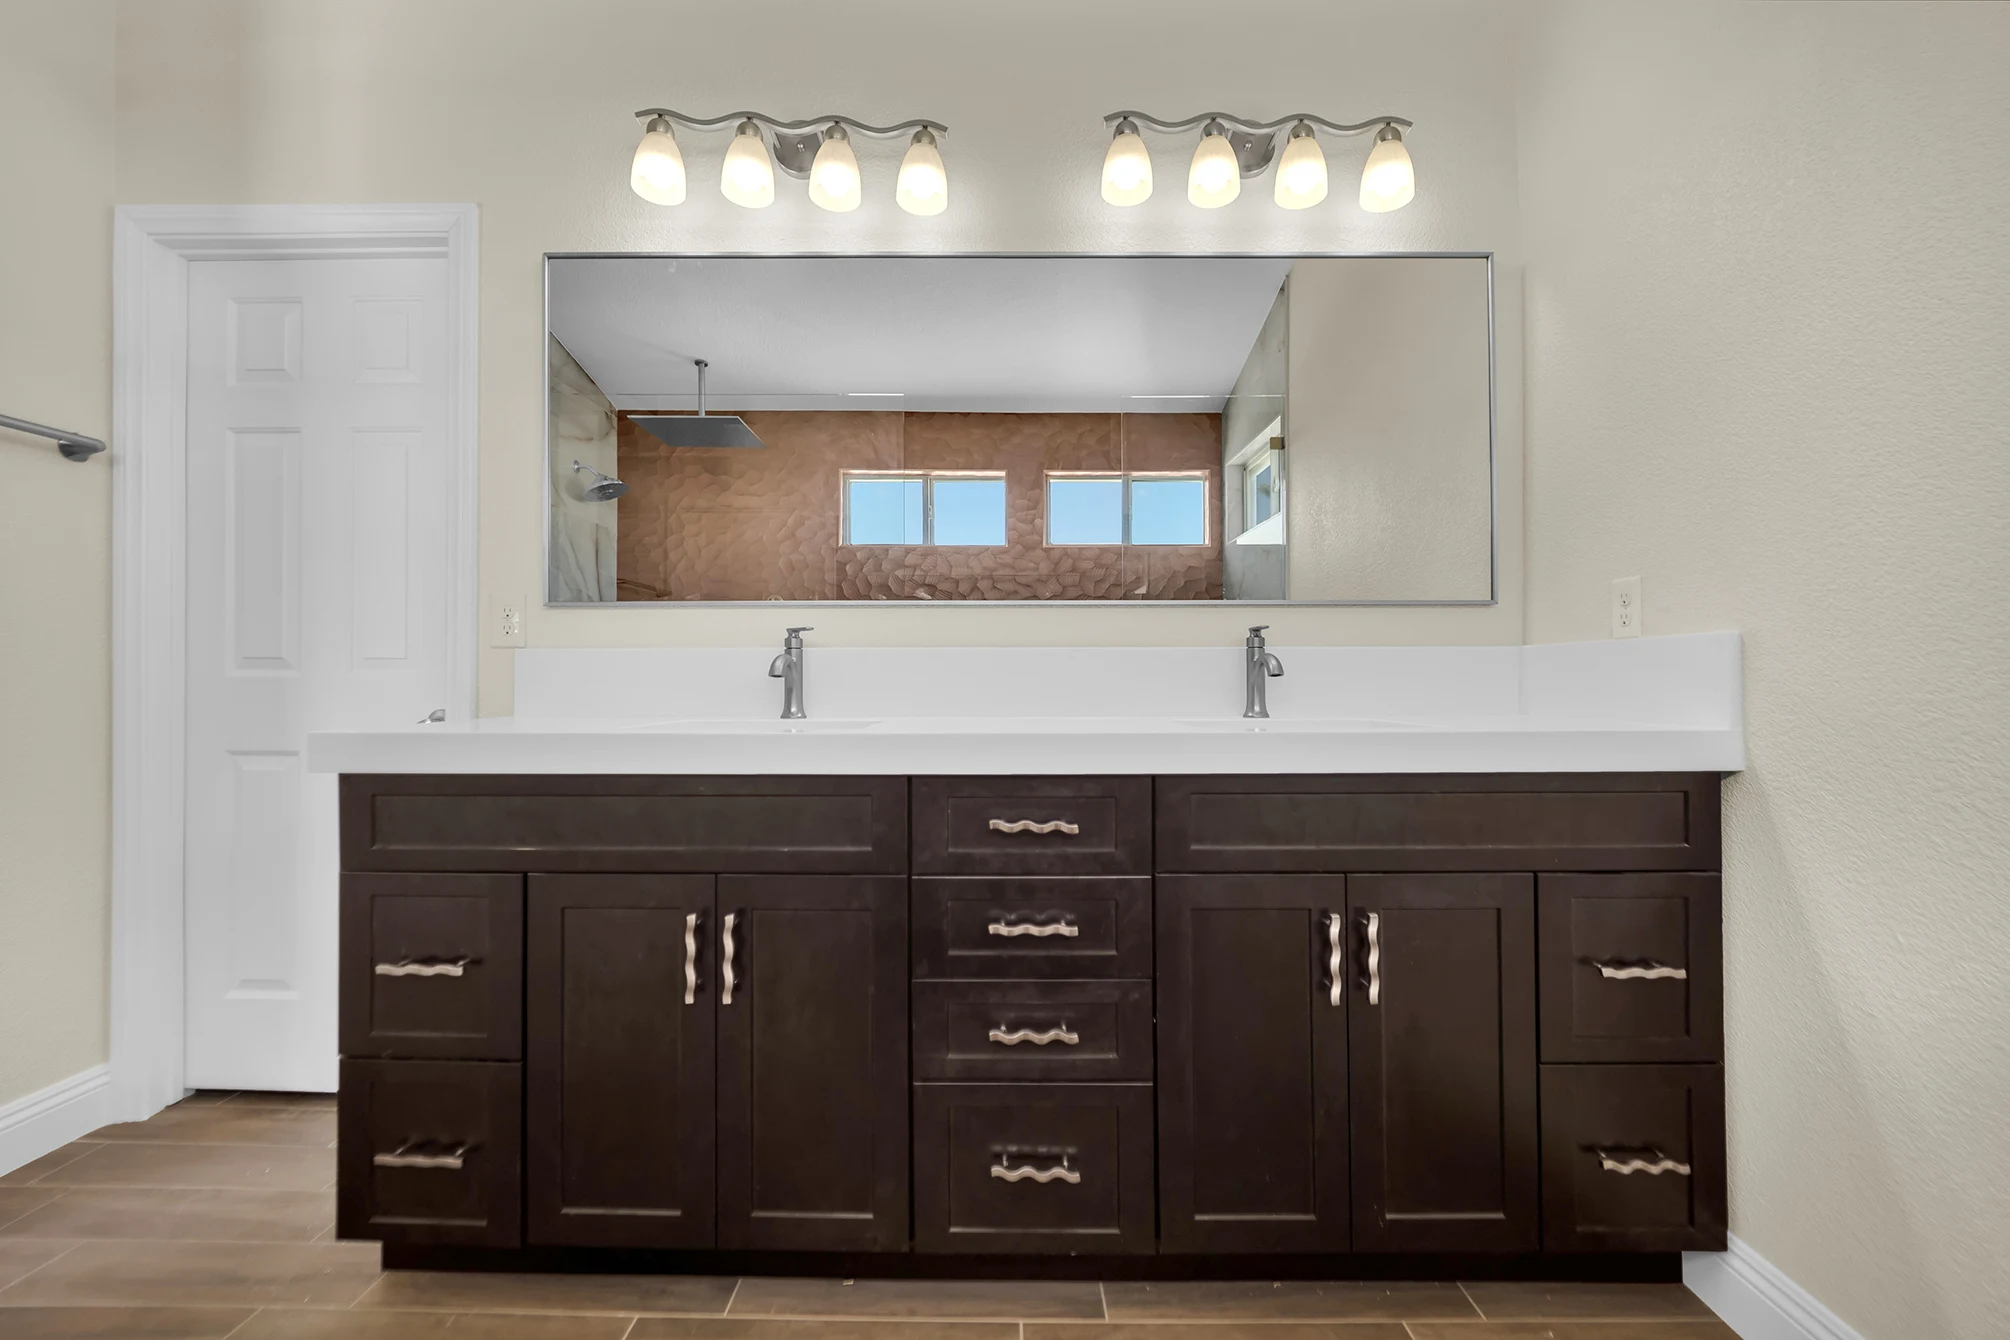
Our work also included installing the vanity and tile throughout the bathroom. The dark double vanity, light countertop and wood-look floor establish the room's wider palette. These surrounding elements matter because the shower was part of a bathroom the homeowners had planned as a whole.
A planned bathroom completed after an unplanned reconstruction
The completed room preserves the homeowners' intended appearance while addressing the problems found during takeover. The finished tile is the visible result of decisions about slab clearance, drainage, plumbing responsibility, waterproofing and bench support.
Project area: Centennial Hills, Las Vegas.
Exact street address withheld for client privacy.
Planning a shower rebuild
For homeowners facing a similarly interrupted renovation, this project illustrates why the next scope needs to begin with the actual condition of the unfinished work. If your plans involve the wider room, explore our bathroom remodeling service. For a project concentrated on the wet area, see our custom shower remodeling service.