
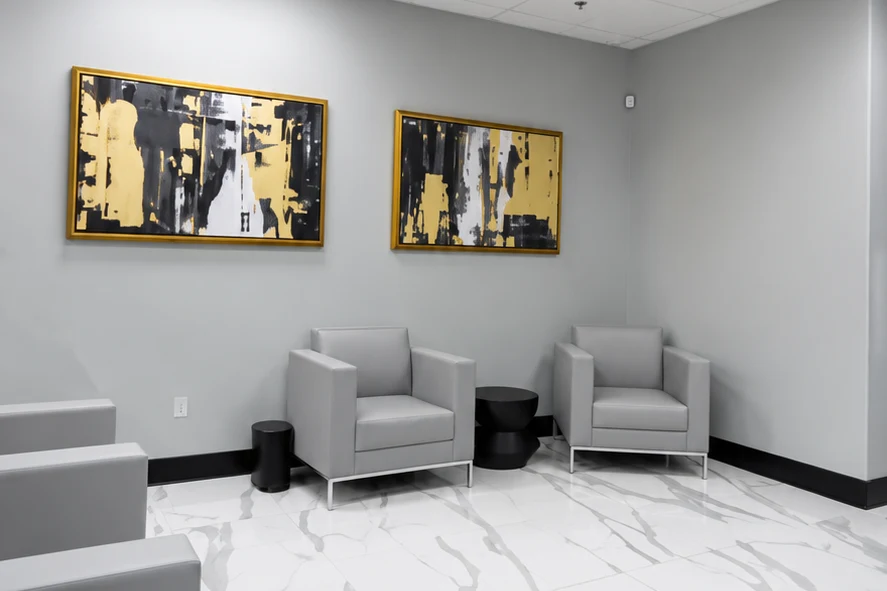
Big Horn Remodeling worked with the client's designer to renovate the suite. The project combined a layout change at the front of the office with flooring replacement, custom storage, and new interior finishes. Some existing elements could be kept and refinished; others needed demolition and reconstruction before the designer's selections could become the finished interior.
Project details provided by Nathan Nehoraoff, Big Horn Remodeling | Nevada B-2 license #0091383
A reception wall connected to the ceiling and electrical layout
The partition at the old reception area ran from the floor to the ceiling. Removing it opened the space, but it also exposed a mismatch in the suspended ceiling: the existing T-grid sections no longer lined up across the area where the wall had been. The front reception ceiling had to be redone to work as one continuous layout.
The existing acoustic ceiling used 2-by-4-foot panels. We rebuilt the grid in the front reception area and added 2-by-4-foot light fixtures to accommodate the changed room.
The wall also housed electrical outlets. Receptacles affected by the demolition were relocated or removed. The lighting and outlet changes formed the electrical work covered by the permit listed above.
Although the reception wall was non-load-bearing, its removal still had consequences beyond demolition. It was a room boundary, an electrical location, and an interruption in the ceiling layout. Addressing those connections was necessary to deliver the open reception the client wanted.
Correcting the floor beneath the new tile
The shifting tile made the old floor installation a construction problem, not just an outdated finish. Before installing the replacement, we demolished the existing tile and rented a floor-scraping machine from Home Depot to work through the remaining material on the floor.
Scraping was followed by grinding off adhesive. That step dealt with material left at the installation surface after demolition. We then used self-leveling material in low spots, addressing localized dips before laying the new tile. Removing old material and correcting low areas served different purposes; both were part of the preparation on this office.
These steps are concealed in the finished photographs. The new floor shows the selected pattern and completed installation, but the work began with the condition of the old floor underneath. For someone comparing this renovation with an office that already has a sound floor to retain, that distinction matters when defining the construction scope.
Marble-look tile, carpeted rooms, and gold transitions
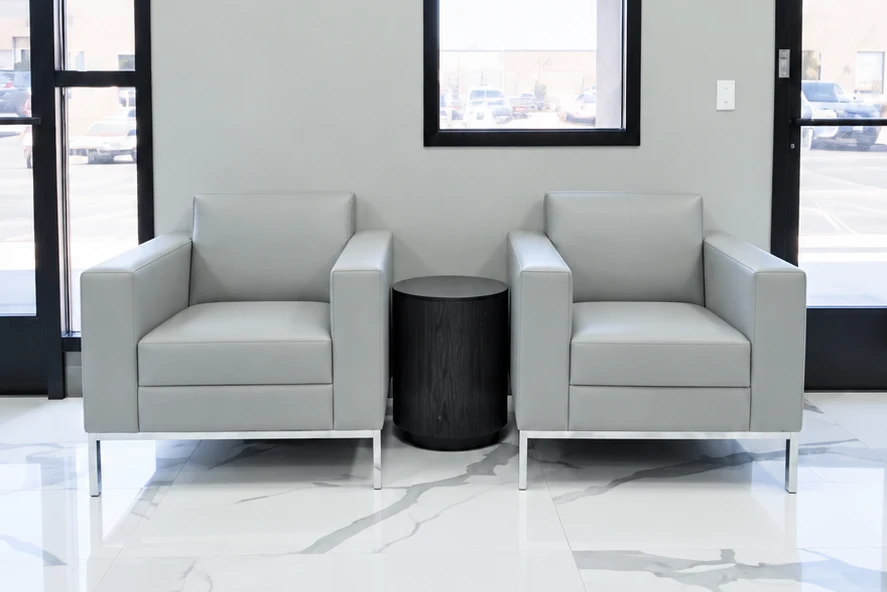
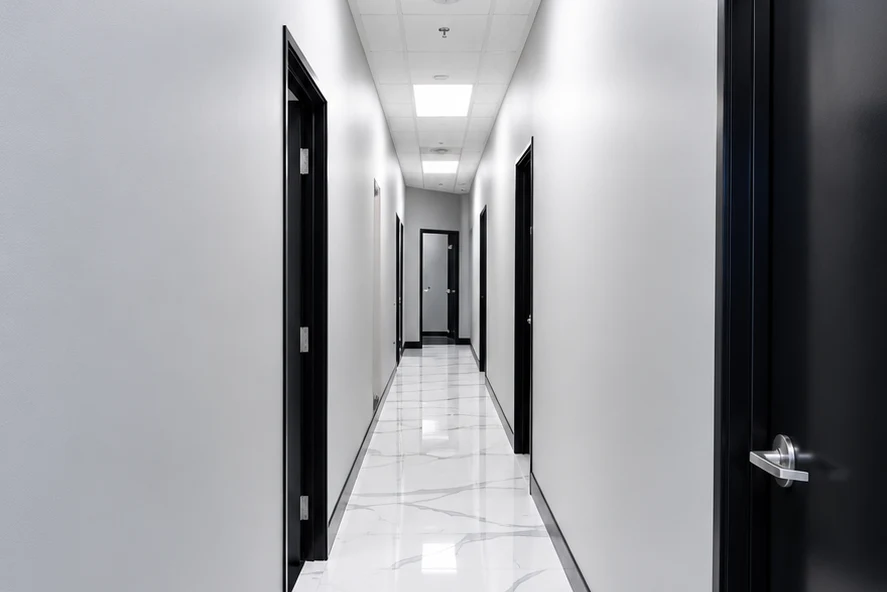
Marble-look tile from Floor & Decor was installed in the reception, hallway, and other tiled areas. In the photographs, its light background and gray veining create a continuous visual connection between the front of the office and the corridor serving the rooms beyond.
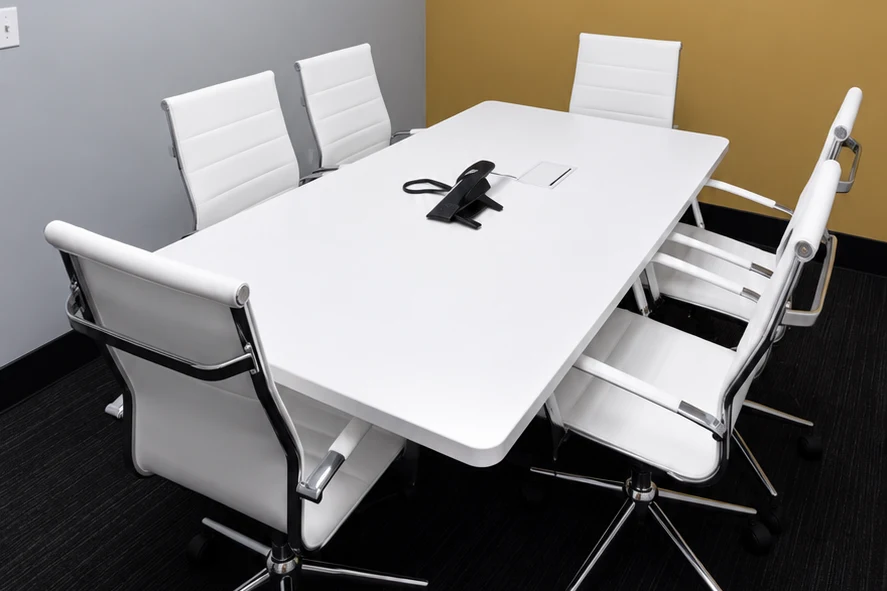
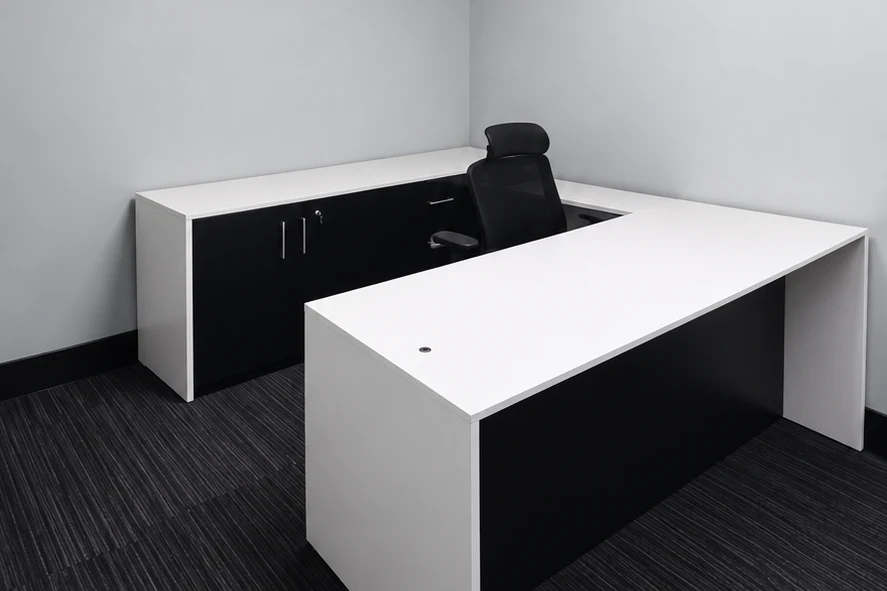
The offices received commercial-grade carpet. The conference-room photographs also show dark carpet, giving the enclosed meeting space a different finish from the tiled circulation areas.
Gold Schluter trim finished the junctions where flooring changed between rooms, giving those material changes a defined edge.
Custom storage and three designer-supplied wallcoverings
We fabricated custom cabinets for the break and print rooms, with storage for food and everyday supplies. The completed installation combines enclosed upper storage, base cabinets, and drawers around a sink counter, leaving a working surface below the upper cabinets.
The cabinet photographs show how the tall upper units use the wall above the counter. Dark cabinet faces and gold-colored pulls contrast with the light countertop, giving the staff storage areas their own finished appearance within the remodeled suite.
For the wall treatments, we worked with the client's designer, who supplied three different wallpapers. We installed them in the front reception room, the conference room, and one office.
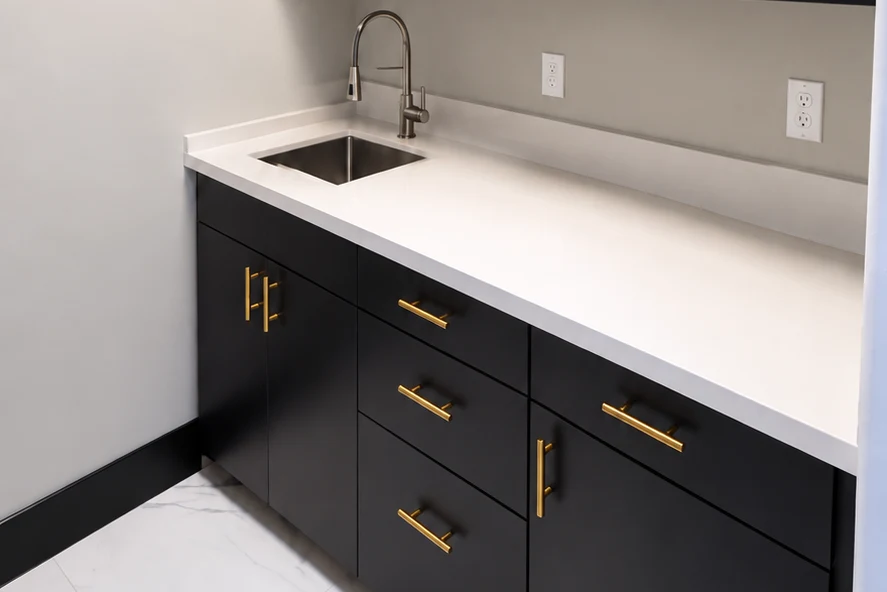
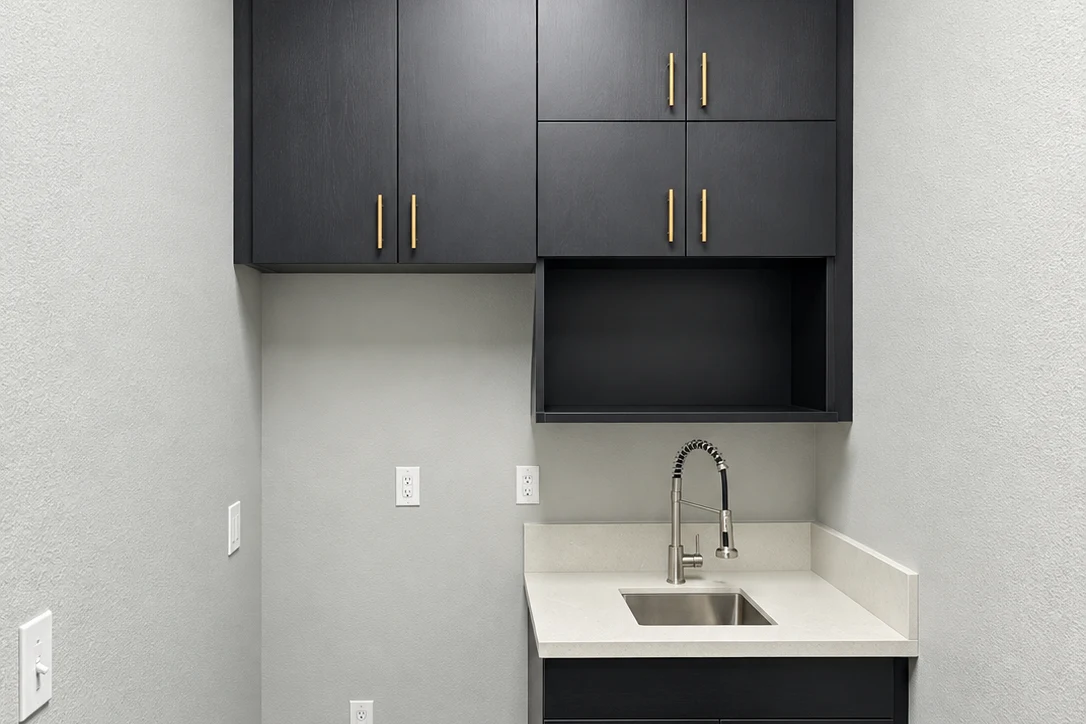
Custom cabinetry uses upper wall space, lower cupboards, and drawers for the staff storage areas.
Dark veined flooring and gold-colored edging distinguish the compact cabinet-and-sink area's finish.
Retaining the doors and giving them a new finish
The existing doors were salvaged and refinished. We applied a premium primer, followed by multiple coats of Sherwin-Williams Emerald paint. Keeping the doors meant the renovation could incorporate an existing part of the suite while changing its appearance to suit the finished rooms.
We also painted throughout the office and installed vinyl baseboards. The hallway photographs show the relationship between the dark doors, the perimeter base, and the light veined floor.
Project area: North Las Vegas, NV
The map shows the project city. The client's street address and suite are withheld for privacy.
Explore our office remodeling services. If your project involves a leased space, see our tenant improvement services.
Discuss your office renovation
If your office needs a more open reception, updated finishes, or improvements to its staff spaces, contact Big Horn Remodeling to discuss the existing suite and the work you have in mind. Request an office renovation consultation. Call or text (702) 799-9902.